How My Site Works
I'm usually curious about this sort of thing with other personal sites, so I'm sharing some details about how my site works, and how I landed on the toolset I'm using! This will be lighter on technical specifics. If you're looking to set up something similar and you're interested in advice or some good starting points, look for a setup-focused blog post in the near future!
For this post, I'll focus on my thought processes during the initial stages of this project, from high-level goals to frustrations I wanted to avoid. I'll share the tools I decided to use, and show what it's like to publish new content with everything set up. To wrap up, I'll mention some ideas I'm excited to try in the future.
Goals
Here's what I wanted out of this project:
- A personal site, with some about/bio info, a space for descriptions of my projects, and a blog with a feed of posts (with RSS).
- Minimal subscriptions. Domain names aren't free, but I wanted to avoid paying for much else if possible.
- Markdown files for my source content. Markdown is easy to write and fairly mobile. More detail below.
- A default template that looks nice, but with options to change things like color and layout.
- Room for technical expansion.
Picking a toolset
There are way too many options for setting up a personal website or blog. It's kind of insane.
I've had several false starts on tools or platforms that didn't pan out for me.
I tried WordPress.com. I tried BearBlog. I looked at Medium and Substack. I did some reading about static frameworks and various low-code site builders. Generally, I either immediately bounced off of the time requirement for getting over a framework's initial learning curve, or I eventually got irritated with one thing or another.
Here's what irritated me most often:
Feeling locked into using one particular tool or service forever.
Especially if it's a propritary service, owned by one company. If it's gonna be a huge headache for me to export my content into a set of local files that I can send to a different tool, I'm uncomfortable. If I have to wonder what happens to my writing if Company X goes under, or sells, or changes its pricing or terms of service, I'm double uncomfortable.
Clunky graphical editors for site content.
This usually goes hand-in-hand with the above point. Drag-and-drop site builders can be great for non-technical people who are interested in getting something done quickly, who aren't worried about dealing with limitations. I'd still urge caution with these, though.
You might get far enough with the basics, but these tools become problematic if you dig in too deep. It's easy to wind up spending significant time and effort building up expertise with a particular graphical site builder... but that's a relatively fragile skillset! You might get some transferrable knowledge, but if you find yourself needing to use a different tool, much of your prior experience is only useful if the new tool (or the brand new, redesigned version of your longtime favorite tool) is sufficiently similar to the one you're familiar with.
Good enough to recommend
Before I made this site, I got furthest with BearBlog. I still think it's great!
If my solution looks like too much trouble, BearBlog is my recommended alternative.
Their recent Bear Manifesto addresses a lot of my points of irritation. If you have markdown content that you want to turn into a personal website somewhere, and you're not too concerned about styling, you can easily throw it in there. You get a little subdomain for yourself (or you can bring your own domain), and your posts join a nice pseudo-network of blogs with a little discovery feed. It's lightweight by design, but I found I wanted more style control and extensibility, personally.
Side note: My sister is on BearBlog. Check her out!
Landing on something
My job is what finally pushed me over that initial learning curve for a static site framework.
We needed a reasonably polished site, using open source or free tools wherever possible. That's how the OpenDI website (and my own personal site in turn) wound up using Docusaurus. I stuck pretty close to the default Docusaurus styling with the OpenDI site.
My solution
Here are the main tools I'm using:
- Docusaurus for markdown-based static site generation (supports MDX for more complex markdown).
- GitHub Pages for hosting, with Actions for automatic deployment.
Here's my repo! Have a look at my source code if you want. - My domain registrar is porkbun.
This setup accomplishes all of my goals, and avoids a lot of my concerns and points of irritation. Domain registration was cheap, and I spent no other money. I'm not paying for GitHub or Pages, and Docusaurus is open source. If I decide to ditch it later on, I've still got my markdown files. Plenty of other static site frameworks can use those!
Meanwhile, I've got plenty of room for expansion and customization. I've already done some basic style tweaks. If you know the hallmarks of a typical Docusaurus site layout then mine will look familiar, but I'm hoping the cookie-cutter effect won't be too strong for most readers.
Overall I'm not doing anything crazy with Docusaurus yet, but my future plans should get more interesting!
What's the content workflow like?
It's simple!
- Draft content in markdown
- Put content in the right spot
- Publish
Markdown for drafting
Every page starts as a markdown file.
Markdown is ubiquitous these days. If you frequently send or publish text over the internet, it's handy to be familiar with it! If you're unfamiliar, the basics are pretty straightforward. I think it's a rite of passage for newer markdown users to accidentaly discover that some new app they're using supports markdown because it happened to work when they used it out of habit.
Here's what the raw markdown for this section looks like when I'm editing it in VS Code:
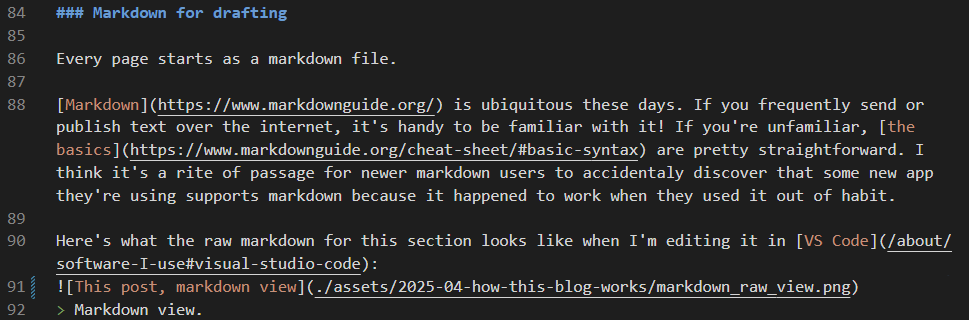
Markdown view.
Like many markdown-friendly editors, VS Code applies basic sytnax highlighting to help with readability. You can also preview a rendered form of the document (with standard styling) as you edit it.
Here's VS Code's preview for this section:
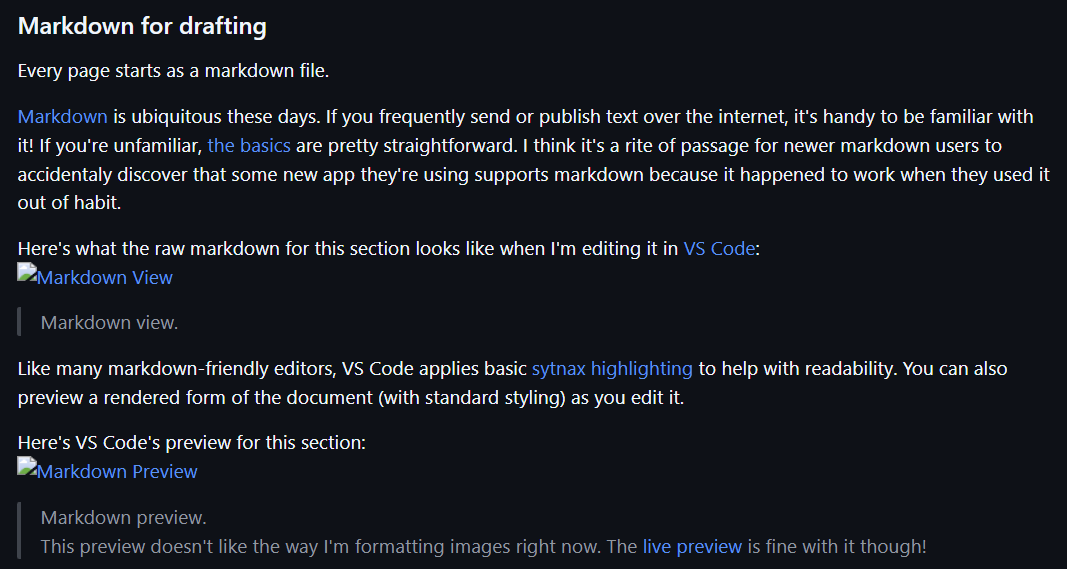
Markdown preview.
This preview doesn't like the way I'm formatting images right now. The live preview is fine with it though!
Arranging content
Once you've told Docusaurus where to look for your markdown content, you're free to just drop finished drafts into those designated locations. Docusaurus will rebuild the site with the new content for you.
For my site, Docusaurus watches 3 locations.
I have:
- a folder for my About content
- a folder for my Blog posts, and
- a special location for my welcome page (https://keldev.net/), so that it doesn't get bundled into the
Aboutsidebar.
Each blog post's filename starts with its publish date so the Docusaurus Blog feature can sort it in my Recent posts list.
To tag a post, I just add a list of tags in the markdown frontmatter.
Frontmatter for this post.
It has a couple tags, the title, and a description for embeds. The "slug" is the intended URL ending for the final page. The "draft" option keeps this post from deploying to the live site. If you're reading this, I removed that option!
Live preview
It's nice to have the option to draft posts in any markdown-friendly editor (even something like Obsidian mobile), and to just drop the files into the site when they're ready. When I'm in serious-drafting mode though, I'm usually working on my content from directly within the configured folders, with a preview instance of my website open beside it.
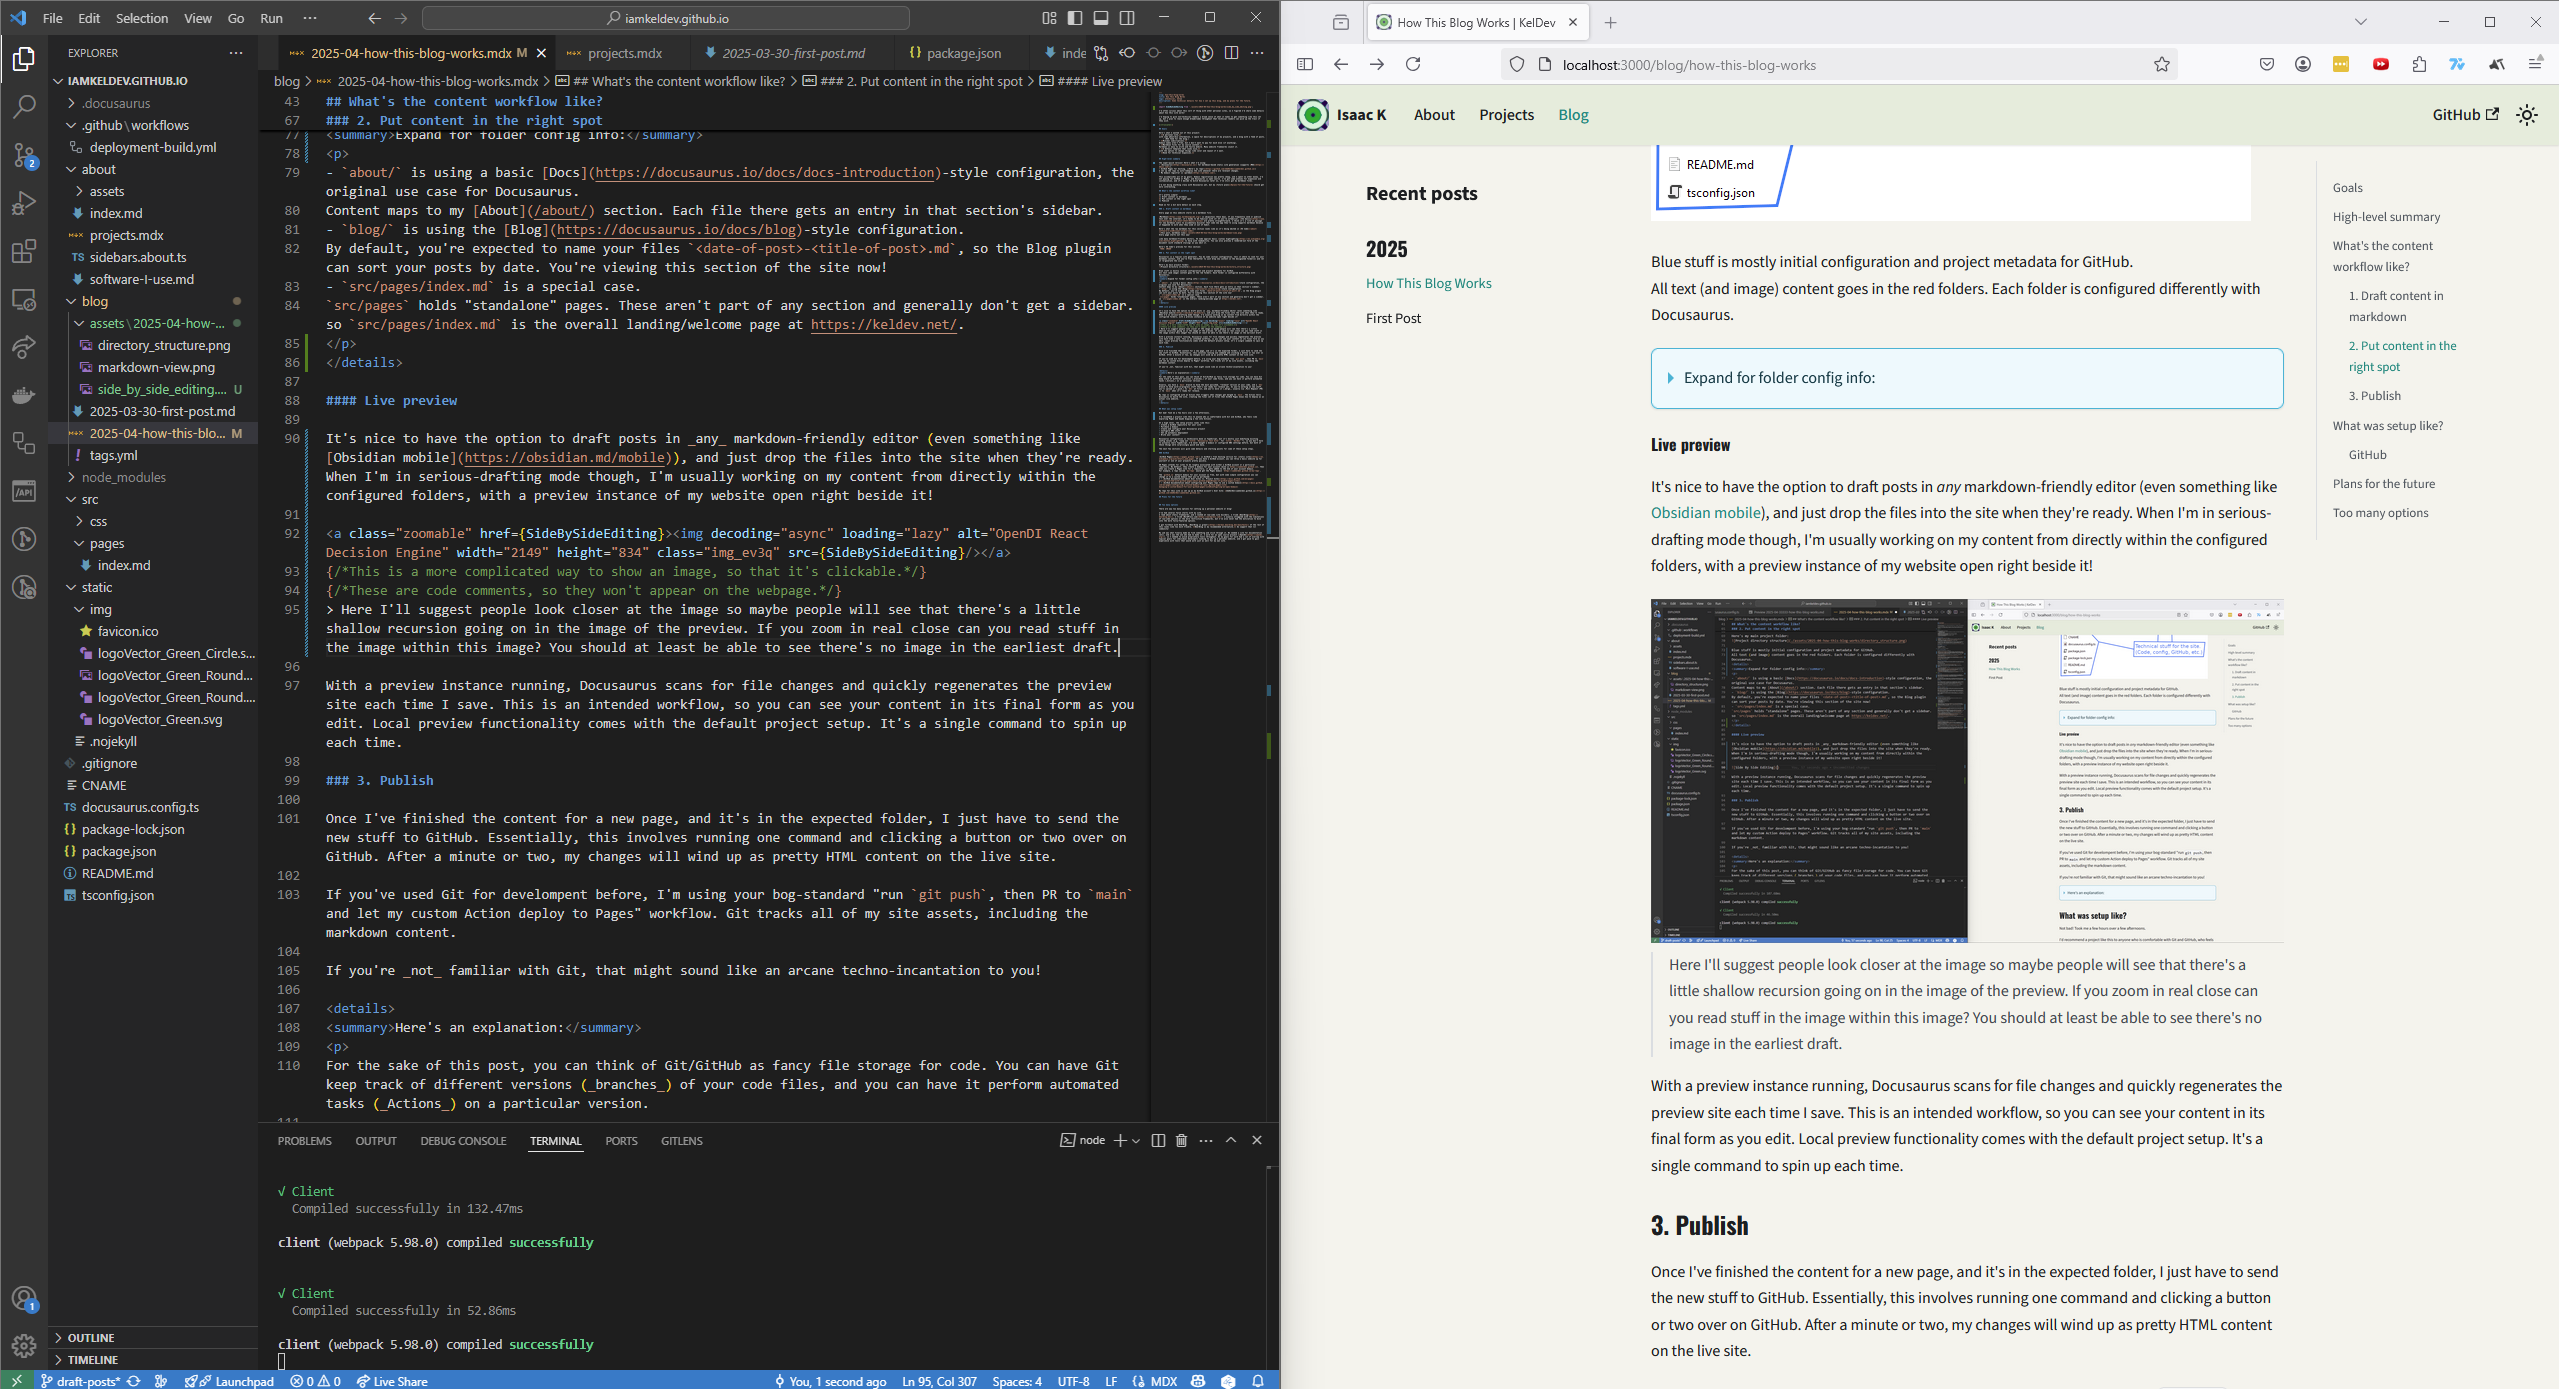
Side-by-side view.
Keen-eyed readers might notice some artifacts from earlier drafts in this image.
With a preview instance running, Docusaurus scans for file changes and regenerates the preview site in realtime wenever I save. This is a primary intended workflow, so you can see your content in its final form as you edit. Local preview functionality comes with the default project setup. It's a single command to spin up each time. It's nice!
Publishing to the live site
Once I've finished the content for a new page, and it's in the expected folder, I just have to send the new stuff to GitHub. Essentially, this involves running one command and clicking a couple buttons over on GitHub. After a minute or two, my changes will wind up as pretty HTML content on the live site.
If you've used Git for develompent before, you'll recognize my process as your bog-standard "run git push, then PR to main and let my custom Action deploy to Pages" workflow. Git tracks all of my site assets (for now), including markdown content and images.
If you're not familiar with Git, that was a lot of jargon right there!
Here's an explanation:
For the sake of this post, you can think of Git/GitHub as fancy file storage for code. You can have Git keep track of different versions (branches) of your code files, and you can have it perform automated tasks (Actions) on a particular version.
Usually, you have a main branch to hold the most polished, "release" version of your code, and a dev branch to hold work-in-progress stuff that's not ready for release yet. When you're working on new stuff, you'll upload it (push) to dev initially, but eventually you'll move it (merge, usually via Pull Request (PR)) to main when it's ready for release.
My repo is configured with an Action that triggers when changes get merged to main. The Action tells Docusaurus to build the site, creating the final set of files that GitHub's Pages service knows how to deploy as an actual live website.
Plans for the future
I've already got everything I need to start sharing content publicly on this site. I'm excited to get some posts up!
I've got a few ideas for technical expansions or adjustments I'd like to try sometime soon though.
Reactions and comments
I like the BearBlog feature where every post has a public upvote count. I'd like to have some form of engagement like that on my posts. Ideally, I want reactions and comments.
I recently had the thought that between GitHub Discussions and GitHub Pages, GitHub is surprisingly close to letting you easily set up your own forum-style websites. The catch is that Discussions threads are attached to the repo itself, rather than to whatever website you've got hosted on Pages.
Luckily, others have already had similar thoughts!
There's a third-party GitHub app called Giscus that does all the work of automatically mapping comment threads on your repo's GitHub Discussions forum to webpages on your GitHub Pages site. There's even a promising-looking guide for adding it to a Docusaurus site. I need to look into it more, but at a glance this looks like a nice solution for both comments and reactions!
Better content management
I'd like to store and track my content markdown files separately from my other Docusaurus files. Separating the two would let me work on different versions of my Docusaurus configuration, styling, etc., without those changes getting mixed up with changes to my content (draft posts, etc.). Right now, everything is in the same repository. It's not a big deal yet, but I could see it getting annoying later on.
One intended solution for something like this is to turn the content files into a Git Submodule, stored in a different repo. It's generally not hard to do, so this should be a simpler one.
Better image hosting
In a similar vein, I'd rather not store all the images for this blog on GitHub. It's not uncommon for small sites without many images to just throw all of their images into their repo, but many of Git's core features focus on managing historical changes to text data. You're not doing that with a .png, so a lot of the value of Git is lost on images. Meanwhile, they generally take up a lot more space than text, which can eventually make it take longer to clone your repository down to a new machine for local editing.
A common quick fix is to just put your images on an existing image hosting provider, but some of my toolset irritations from the beginning of this post apply there.
I already use Backblaze B2 for general cloud storage. You can make your Backblaze Buckets public, and a little research turned up some official Backblaze docs describing how to use a public B2 bucket for media delivery via Cloudflare CDN. I don't mind the Backblaze rates for storage, so if it's possible to set up the Cloudflare end of this on a free Cloudflare plan, this could be a perfect solution for me.
Image gallery
I take pictures for fun sometimes! I mostly just use my phone. Sometimes it bothers me to think about how many photos I have enjoyed taking, maybe shared with one or two people, and then left to sit for eternity. A little while back, my phone's local storage got so backed up that I finally caved and paid for some more Google storage. But I already use Backblaze B2 for general cloud storage! I have needed to move my phone pictures over to Backblaze for too long.
I think it'd be fun to set up a public gallery while I'm at it. Could be a good test run for seriously extending my Docusaurus site! Or it could be too much. We'll see. My end goal would be to have some sort of tagging system for images, so you could sort them by subject.
Basic analytics
I go back and forth on analytics. I don't want detailed click heatmaps or realtime session recordings. (This is too much.) I just want to see if any of my blog posts get unexpected traffic. I'll probably look at setting up GoatCounter with this community plugin for Docusaurus.
Email list
The built-in RSS feed in the Docusaurus Blog plugin is great! More people use email than RSS though, so that's a lower-barrier subscription option that I'd like to include. I imagine this will be a better than the image gallery idea as a first project for extending the basic Docusaurus functionality, and this walkthrough looks promising, so I'll be giving it a try soon!
Thanks for reading!
This actually took quite a while to write.
I initially had a lot more of my technical setup details in here. Eventually I realized I was trying to speak to two different audiences in one post, and the thing was gonna take half an hour to read, and would probably lose both audiences for different reasons at different points. Splitting it up helped. Now I can lose each audience individually! Just gotta finish that setup post now.
If you have thoughts or questions... Email me?
Email me!
Hopefully in the near future I can just direct you to a comments section.